Create a Vue 3 / Vuetify 3 Alpha app - Part 1
We will create a Vue 3 application with Vuetify 3 Alpha and in future posts, build out a photo photo app and deploy it to a secure endpoint using Amazon Web Services Elastic Beanstalk.
In this first blog post, we will create our Vue 3 app with Vuetify 3, which offers Google Material UI support. You can pull down the repository or follow along.
git clone https://github.com/geocolumbus/nmusaf-org.git
cd nmusaf-org
To get the project to the state it will be in at the end of the block, check out the starter branch.
git checkout starter-project
Pick a Development Platform
Because I am primarily a mobile app developer, I develop in the MacOS ecosystem. These instructions will work on either an Intel (x86_64) or M1 (arm64) mac.
Install Prerequisites
brew
nvm
install the latest version of node
Vuetify 3 requires node 17.
nvm install 17
nvm use 17
As of 1/2/22, I’m on version 17.3.0.
install the vue-cli globally
Vuetify 3 requires the latest vue cli release candidate.
npm install -g @vue/cli@5.0.0-rc.1
vue --version
Create the vue app
I will call my site nmusaf.org (National Museum of the United States Air Force), since I was able to buy nmusaf.org for $12 using AWS Route 53 (more on that later).
vue create nmusaf
pick Manually select features
use the space bar to select Rouer and Unit testing. The menu should look like this:
? Check the features needed for your project:
❯◉ Choose Vue version
 ◉ Babel
 ◯ TypeScript
 ◯ Progressive Web App (PWA) Support
 ◉ Router
 ◯ Vuex
 ◯ CSS Pre-processors
 ◉ Linter / Formatter
 ◉ Unit Testing
 ◯ E2E Testing
Press ENTER
Pick Vue version 3.x
Answer Y to use history mode for the router.
For ESLint, choose ESLint + Prettier
Choose Lint on save
Press ENTER
Choose Jest
Press ENTER
Choose In dedicated config files
Save this configuration as a preset, name it nmusaf-config
Now the vue-cli will configure your project.
Configure the Vue App
Add Vuetify
cd nmusaf
vue add vuetify
Select Vuetify 3 Preview (Vuetify 3)
After Vuetify 3 is installed, update the project.
npm update
Run the App
Now we can run the app locally.
npm run serve
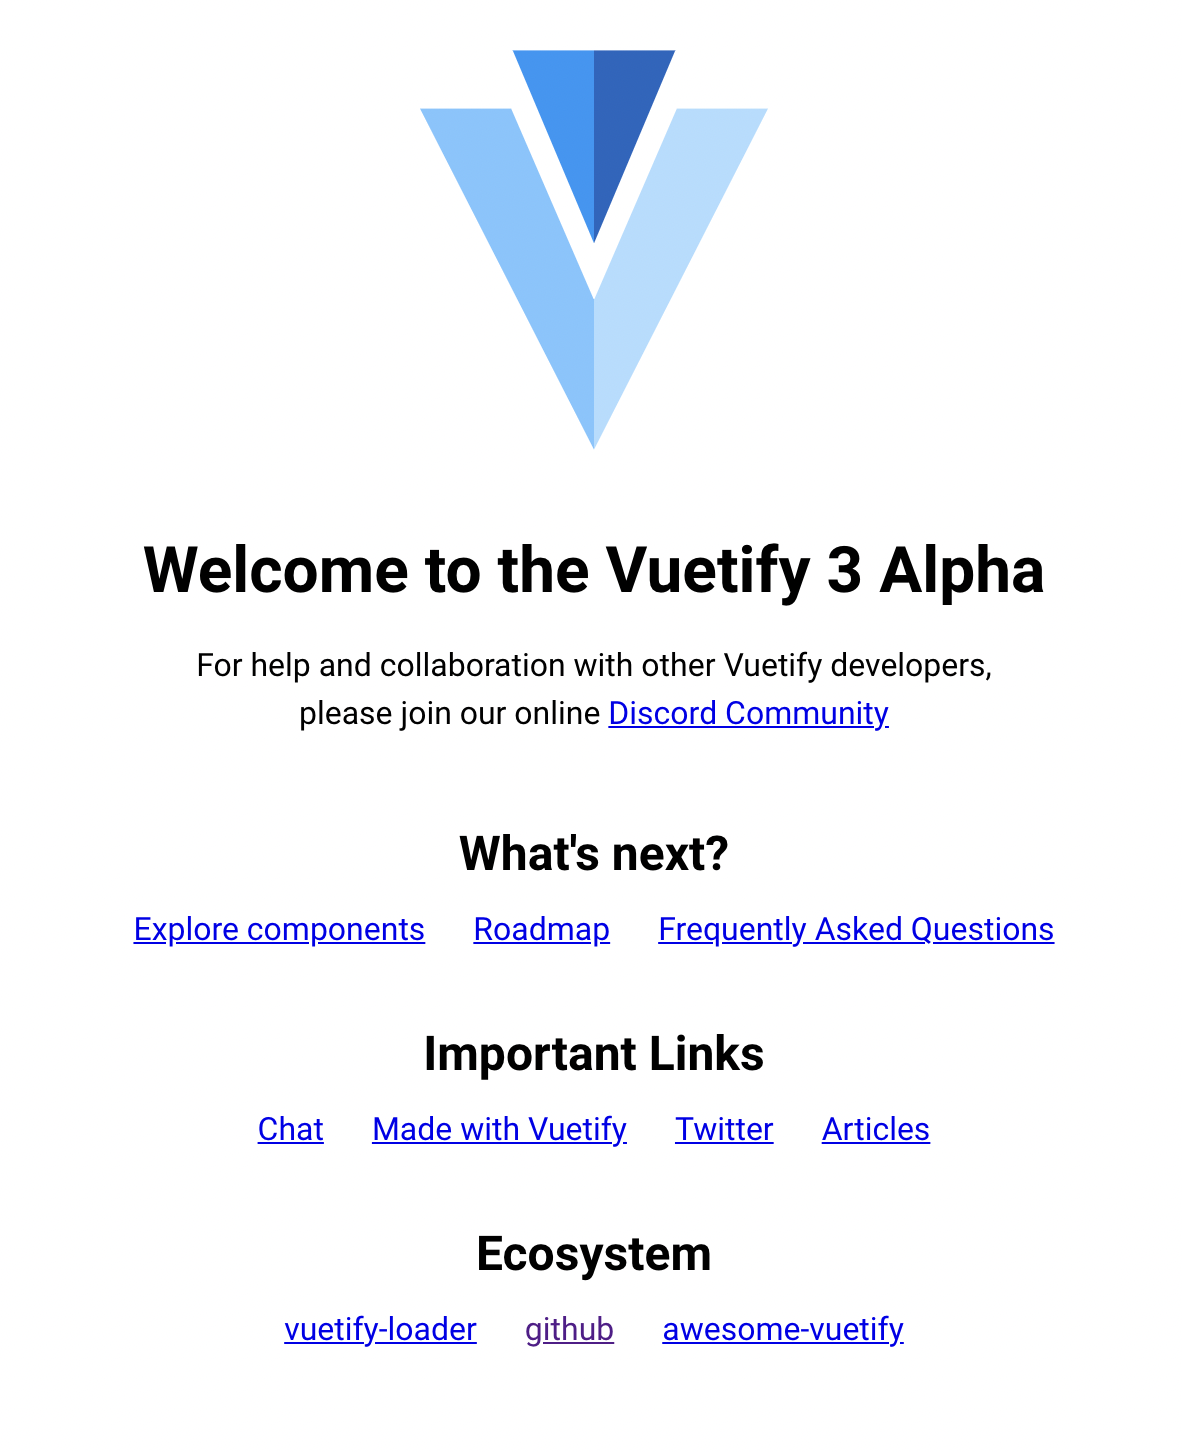
You should see the Vuetify 3 Alpha splash screen:

Next Step
In Part 2 (coming soon!) we will create a photo app, and in Part 3 we’ll deploy it to a secure endpoint using AWS Elastic Beanstalk. Stay tuned!